
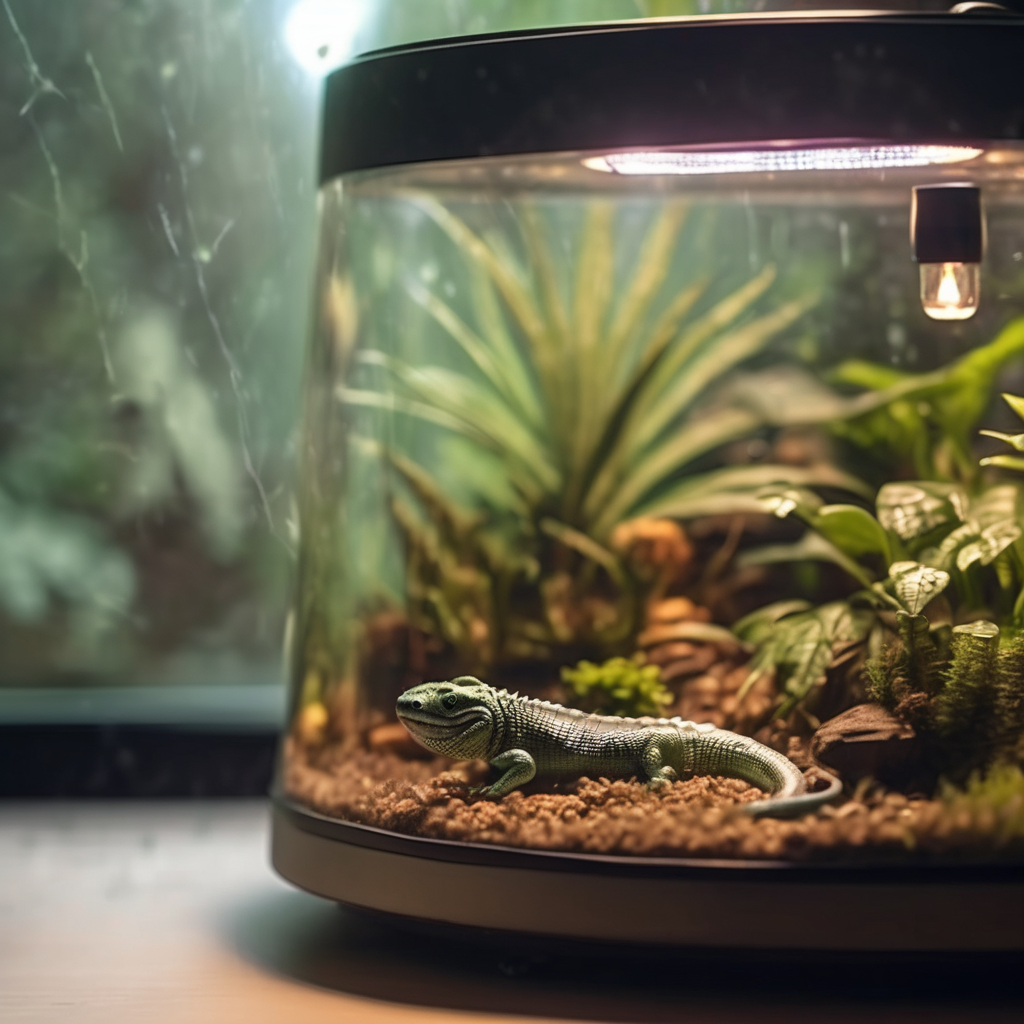
A terrarium is a small, fragile climate. Heat that swings ten degrees a day, humidity that collapses overnight, or a heat lamp that stays on while you are at work will slowly kill the animal inside it — and it will do so while every individual reading looks “close enough”. Automation is how you stop chasing those numbers by hand.
Good automation does four things: holds temperature inside a safe band, runs the day/night light cycle on a fixed schedule, keeps humidity where the species needs it, and records what actually happened so you can see a failure before it becomes a fatality. This guide covers each of those, how to wire the whole thing safely, and the mistakes that make automation more dangerous than doing nothing.
The four jobs automation has to do
Every terrarium automation setup, from a single heat mat with a thermostat to a fully monitored paludarium, is solving these four problems:
- Heat: hold a basking spot and a cool-side gradient within a few degrees, day and night, all year.
- Light: a fixed photoperiod (typically 10 to 12 hours on, 12 to 14 off) with a proper day/night transition, because reptiles regulate hormones, appetite and shedding from the light cycle.
- Humidity: hold a target range with a misting system, and — just as important — let it dry out during the day for species that need a wet/dry cycle.
- Monitoring and recording: thermometers, hygrometers and ideally a data logger, so you know what the enclosure did overnight.
Skip any one of the four and the other three will quietly work against you. A perfect thermostat on a lamp with no timer still cooks the animal when you forget.
Thermostats: the single most important device
Every heat source in a reptile or amphibian enclosure must run through a thermostat. A heat mat with no thermostat can exceed its rated surface temperature by a wide margin on a warm day, and heat lamps obviously cannot self-regulate. This is not optional equipment.
The three types and what they are for
- On/off (mat) thermostats: the cheapest type. They switch power on when temperature falls below the set point and off when it rises above. The on/off cycling causes noticeable temperature swing of two to five degrees. Adequate for heat mats and heat cable, poor for ceramic heat emitters.
- Pulse proportional thermostats: vary the number of power pulses rather than switching fully on and off. Hold a much tighter band (typically under 1°F). The standard recommendation for ceramic heat emitters and deep heat projectors.
- Dimming thermostats: reduce voltage to the lamp smoothly, like a light dimmer. The tightest control and the longest lamp life. Best for basking bulbs, and worth the extra cost for any species sensitive to temperature, such as many reptiles in breeding setups.
Where the probe goes — this is where most people get it wrong
The probe must sit at the level of the animal, in the air, under the heat source but not touching it. Common mistakes:
- Probe buried in substrate — it reads substrate temperature, and the air bakes unchecked.
- Probe taped to the glass or the mat — it reads the mat, which can be 20°F hotter than the air a few inches away.
- Probe in the cool corner — the thermostat then never triggers and the hot spot runs away.
- Probe clipped above the basking lamp — the thermostat reads the hottest point in the enclosure, which is exactly what you want for a basking spot controlled by a dimming thermostat, but wrong if you are trying to control ambient air temperature.
Decide which temperature you are controlling — air temperature at animal level, or basking surface temperature — place the probe for that measurement, and do not mix the two in one enclosure. Use two thermostats with two probes if you need both.
Setting the thermostat correctly
Set the thermostat, then leave the enclosure for two hours and read a separate digital thermometer at the animal’s actual resting spot. Adjust until that reading — not the thermostat display — sits in the target range. Cross-check with a second independent thermometer; built-in displays on cheap thermostats are commonly off by three to five degrees, and a wrong display means a wrong set point forever.
Timers: the day/night cycle
Reptiles and amphibians need a consistent photoperiod, and consistency matters more than precision. Two hours of drift week to week is a stressor; a fixed schedule is not.
- Use a 24-hour mechanical or digital timer, not a manual switch. Standard setting: 12 hours on for most diurnal species, 10 to 11 hours in winter and 13 to 14 in summer if you want to simulate seasons for a species that benefits (many temperate reptiles).
- Never give 24-hour light or 24-hour dark. Constant light suppresses melatonin, stresses the animal, drives algae growth in planted or water setups, and disrupts breeding behaviour.
- Night drops matter. Most species need a night-time temperature drop of five to ten degrees below the daytime high. A separate night heat source on its own thermostat (radiant heat panel, ceramic emitter or heat mat on one half only) handles this without running the basking lamp all night.
- Provide real darkness. A moonlight LED is fine for viewing, but a red or blue “night” bulb left on continuously is not darkness. If you need heat at night, use a non-light-emitting heat source — ceramic heat emitter or deep heat projector — so the animal gets actual dark.
- Simulate dawn and dusk if you can. Some higher-end timers and smart controllers ramp over 30 to 60 minutes. For most keepers this is a nice-to-have; for arboreal and crepuscular species it measurably reduces stress behaviour.
Humidity: misting systems and humidistats
Humidity is the variable most keepers automate badly, because they treat it as a single number when most species need a cycle: high at night, drier during the day.
Which mister for which enclosure
- Hand mister: fine for small enclosures and low-demand species. You are the automation — it works only if you are reliable.
- Pump-driven misting system (nozzles on tubing, on a timer): the standard for tropical setups. Timed bursts rather than continuous humidity control. Cheap, effective, easy to service. Use RO or distilled water — tap water scales and clogs nozzles and leaves mineral film on glass.
- Humidistat-controlled mister: the mister runs only when humidity falls below your set point. Much better than fixed bursts in a dry room or during winter heating season. Combine with a timer so it never runs during the day if your species needs a dry period.
- Fogger/ultrasonic humidifier: adds fog rather than moisture, is dramatic, and is widely overused. It does not raise humidity effectively in a ventilated enclosure, and standing fog in a stagnant enclosure is a respiratory infection risk. Use it for short visual periods, not as your humidity control.
- Automatic waterer/dripper: essential for species that drink from droplets (chameleons, many tree frogs) and a good supplement for anything else.
Wet/dry cycling
For most reptiles and many amphibians, constant 80 to 90 percent humidity with no dry period produces scale rot, bacterial skin infections and mould in the substrate. Automate the cycle, not the constant: high humidity overnight, a dry-down during the day. A humidistat plus a timer, or simply fewer and shorter misting bursts plus ventilation, gets you there. Standing water in the substrate is almost always the real problem — improve drainage before you add more misting.
Monitoring: what to measure and how to know it failed
- Two thermometers minimum: one in the basking zone, one on the cool side. They should disagree by several degrees — that disagreement is the gradient you are trying to create.
- A hygrometer that you trust. Cheap dial hygrometers are commonly 10 to 15 percent off. Calibrate yours with the salt-slurry method (a sealed bag with a bottle cap of salt and a little water stabilises at 75 percent relative humidity) or buy a digital unit and accept it is approximately right within 5 percent.
- A min/max reading or data logger. This is the difference between “it looked fine” and knowing the enclosure hit 100°F while you were out. Logging thermometers with min/max cost very little and are the highest-value single upgrade in any setup.
- An alarm if you can. Some digital thermostats and WiFi monitors alert your phone on a high or low breach. For a keeper with multiple enclosures or expensive animals, this is the feature that justifies the price on its own.
Wiring it safely
Automation adds electrical devices near water. Treat that with real respect.
- Put everything on a single surge-protected power strip or, better, a GFCI-protected circuit. Water plus a failed heat lamp is a fire and shock risk. Do not daisy-chain power strips.
- Leave drip loops on every cable. Run the cable up and over so any water running down it drips off before reaching the plug or the device.
- Never let a heat device touch enclosure walls, lid or substrate directly. Heat mats belong on the side of the tank, not under it, unless the manufacturer specifically rates them for under-tank use — under-tank use with a substrate can overheat and has caused fires.
- Keep the thermostat probe cable and heat source cable out of the animal’s reach where species can chew or climb them.
- Set the enclosure on a non-combustible surface, and never on carpet directly under a heat lamp.
- Test your GFCI/RCBO once a month with its test button. A dead GFCI gives no warning.
The power outage plan
Your automation all assumes mains power. When it fails, the enclosure loses heat and aeration within hours.
- Know your species’ safe window. A bearded dragon tolerates a cool night far better than a tropical frog tolerates a cold hour. Prioritise accordingly.
- Keep hand warmers (chemical heat packs), blankets and good insulation ready for a short outage in a small enclosure. Wrap, do not place heat sources inside the tank.
- Battery backup for the critical circuit. A small UPS run on just the heater thermostat and aeration pump extends a safe window dramatically for a modest cost.
- Check the enclosure after any outage, including water temperature in any water feature, and purge the water if it has gone stagnant.
Common automation mistakes
| Mistake | Consequence | Correct approach |
|---|---|---|
| Heat source with no thermostat | Overheating, burns, death, fire | Every heat device goes through a thermostat, always |
| Probe in substrate or taped to a device | Wrong reading, uncontrolled air temperature | Probe in air at animal level, under the heat source |
| Trusting the thermostat’s built-in display | Set point is wrong by several degrees | Cross-check with an independent digital thermometer |
| Constant high humidity, no dry period | Scale rot, skin infection, mould | Automate the wet/dry cycle, not a constant |
| Tap water in the misting system | Clogged nozzles, mineral film on glass and animals | RO or distilled water, nozzles cleaned monthly |
| Coloured night bulb left on 24/7 | No real dark phase, chronic stress | Ceramic heat emitter or deep heat projector for night heat |
| Timers set by hand each day | Drifting photoperiod, inconsistent cues | Mechanical or digital timer on a fixed schedule |
| No min/max reading | Failures discovered days later | Logging thermometer with min/max, or phone alerts |
Warning signs that something is wrong
Automation fails quietly, so treat any of these as a signal to check the whole chain — thermostat, probe position, timer, and the independent thermometer:
- The enclosure is far hotter or cooler than the thermostat display says — either the display is wrong or the probe has moved.
- Humidity reads fine in the morning and collapses by afternoon — your misting is underpowered for the ventilation, or the humidistat set point is below the actual dry-down level.
- Condensation permanently on the glass with no dry-down period — too much moisture, not enough air exchange; a respiratory risk and a sign the wet/dry cycle is missing.
- The heat lamp cycles visibly on and off every minute or two — the thermostat is on/off type or the probe is too far from the lamp. Constant cycling shortens lamp life and stresses animals.
- The animal spends all its time pressed against one spot, or avoids the basking area entirely — the gradient is wrong. This is behavioural evidence that outranks any reading on a dial.
- Any smell of hot plastic, scorching, or discoloured device casing — cut power immediately and inspect the device before reusing it.
Automation setup checklist
- Heat source(s) chosen and correctly rated for the enclosure volume
- Pulse or dimming thermostat for every light-emitting or ceramic heat device
- Probe positioned in air at animal level, under the heat source
- Two independent thermometers (hot zone and cool zone) plus a min/max or logging unit
- 24-hour timer on the day/night light cycle, 10 to 12 hours on for most species
- Separate night heat source that emits no light
- Misting system on RO/distilled water with a timer, and a humidistat if the species needs tight control
- Calibrated hygrometer, cross-checked against a second unit
- Wet/dry cycle programmed, with drainage that lets the substrate dry
- All devices on one surge-protected, ideally GFCI-protected circuit with drip loops
- Power outage plan documented, with hand warmers and/or a small UPS on the critical circuit
- Whole system observed for 48 hours before an animal goes in — check the min/max readings, not a single snapshot
Frequently asked questions
Do I really need a thermostat for a heat mat?
Yes. Heat mats can exceed their rated temperature substantially in a warm room or when covered by a thick substrate, and they have no upper limit of their own. A mat thermostat is one of the cheapest items in the hobby and the difference between a warm enclosure and a cooked one.
Should the heat mat go under the tank or on the side?
On the side, unless the manufacturer explicitly rates the mat for under-tank use. Side mounting heats the air and the surfaces the animal contacts without driving substrate temperature to unsafe levels.
Can one thermostat control both a heat mat and a ceramic bulb?
Only if both are on the same circuit and you want both to switch together — which you usually do not. A mat holds a night minimum, a bulb provides a day basking spot. Use two thermostats and two probes.
How do I know my hygrometer is accurate?
Do the salt-slurry calibration: seal the hygrometer in a bag with a bottle cap of table salt dampened with a few drops of water, wait 8 to 12 hours, and it should read 75 percent. Adjust or mentally offset the display accordingly.
Is a smart plug or WiFi controller worth it?
For most keepers, no — a $20 mechanical timer and a $30 thermostat outperform a phone app on reliability. Smart controllers earn their place when you have many enclosures, want remote alerts, or need to ramp dawn and dusk.
Can I automate a bioactive terrarium?
Yes, and automation matters more there because the cleanup crew is sensitive to drying out. Keep the wet/dry cycle gentle, use RO water in misters to avoid mineral buildup on the leaf litter, and never mist directly onto exposed soil — mist the glass and hardscape so the substrate surface dries.
Leave a Reply